
If you love chocolate desserts that require almost no effort, this 3-Ingredient No-Bake Hershey’s Pie is an easy one to keep in your back pocket. It combines melted Hershey’s milk chocolate with fluffy whipped topping in a ready-made chocolate cookie crust for a smooth, creamy filling with plenty of chocolate flavor.
There’s no oven, no complicated mixing, and no long ingredient list. Just melt, fold, fill, and chill until the pie is firm enough to slice.
Recipe overview: Makes 8 servings | Prep: 15 minutes | Chill: 4 hours | Total: 4 hours 15 minutes
Why You’ll Love This Recipe
- Only 3 ingredients: The short ingredient list keeps shopping and preparation simple.
- No baking required: The refrigerator does the work while the filling sets.
- Rich and creamy: Melted milk chocolate gives the filling a smooth, fudgy flavor.
- Fast preparation: The hands-on work takes about 15 minutes.
- Easy to make ahead: Prepare the pie several hours before serving or the day before.
- Great for beginners: There are only a few simple steps, with no baking techniques to worry about.
Ingredients
You only need three ingredients to make this easy chocolate pie:
- 7 standard-size Hershey’s milk chocolate bars, broken into pieces
- 1 (8-ounce) container frozen whipped topping, thawed
- 1 (9-inch) prepared chocolate cookie crumb crust
Ingredient Notes
Hershey’s milk chocolate bars: Milk chocolate gives this pie its signature sweet, creamy chocolate flavor. Break the bars into smaller pieces so they melt evenly.
Frozen whipped topping: Thaw it completely in the refrigerator before folding it into the chocolate. A fully thawed topping blends more easily and helps keep the filling light.
Chocolate cookie crumb crust: A prepared crust makes this recipe especially convenient. Keep it refrigerated until you’re ready to fill it so the crust stays firm.
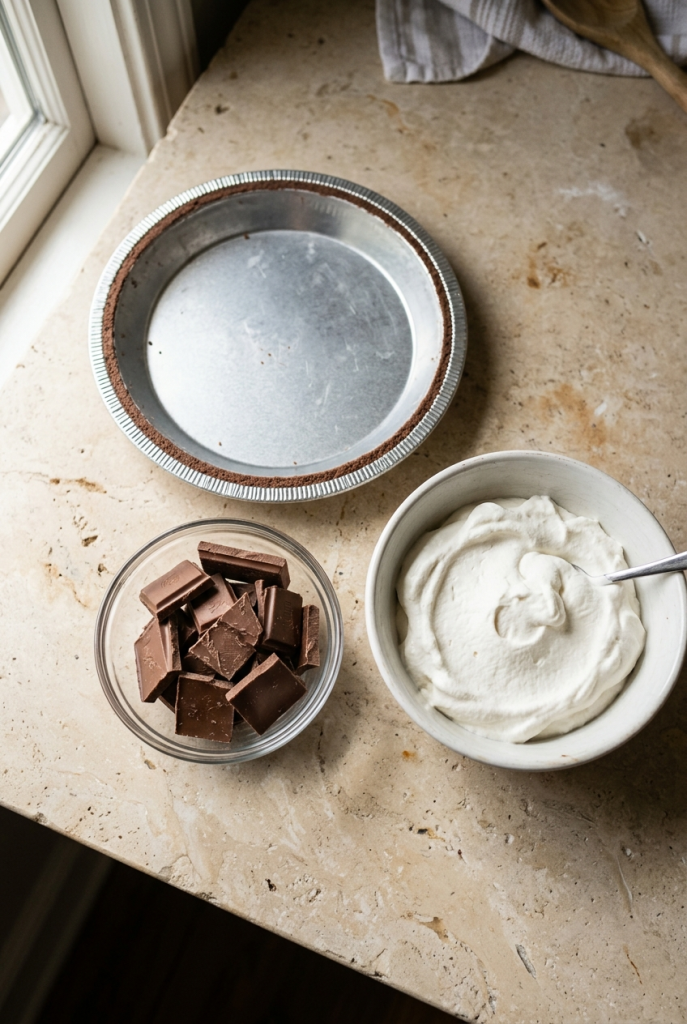
How to Make 3-Ingredient No-Bake Hershey’s Pie
1. Melt the Chocolate
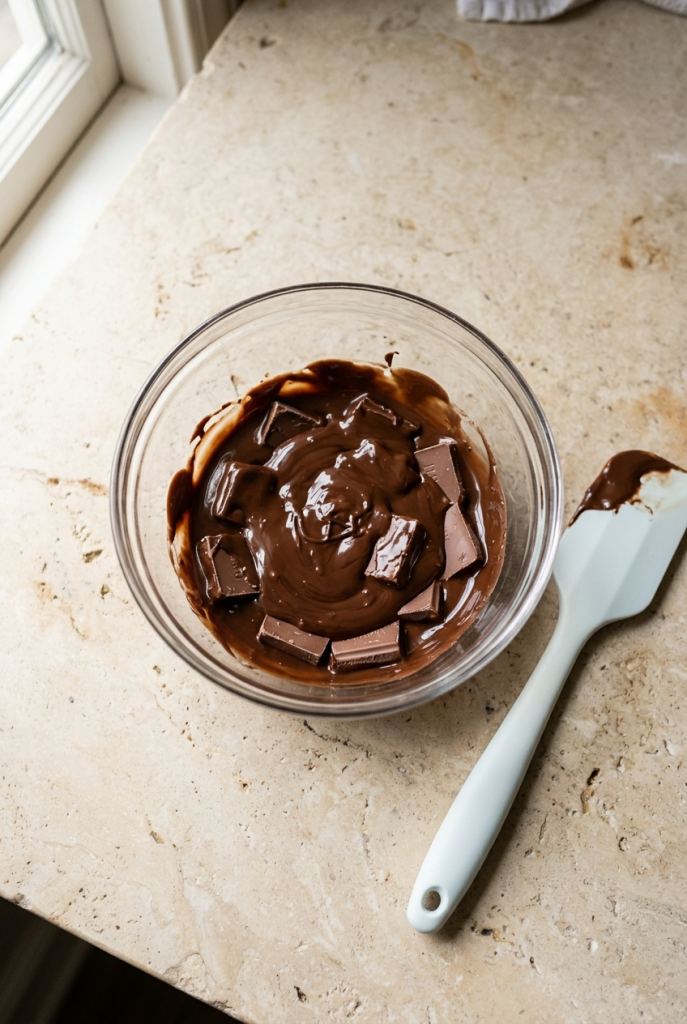
Break the chocolate bars into small pieces and place them in a microwave-safe bowl. Microwave at 50% power in 20–30 second intervals, stirring well between each interval.
Continue until the chocolate is almost completely melted, then stir until the remaining pieces disappear from the residual heat. The chocolate should be smooth and glossy, not hot or bubbling.
Let the melted chocolate cool for a few minutes. It should still be fluid but no longer feel very hot, because adding very hot chocolate to the whipped topping can cause the filling to lose some of its airy texture.
2. Fold in the Whipped Topping
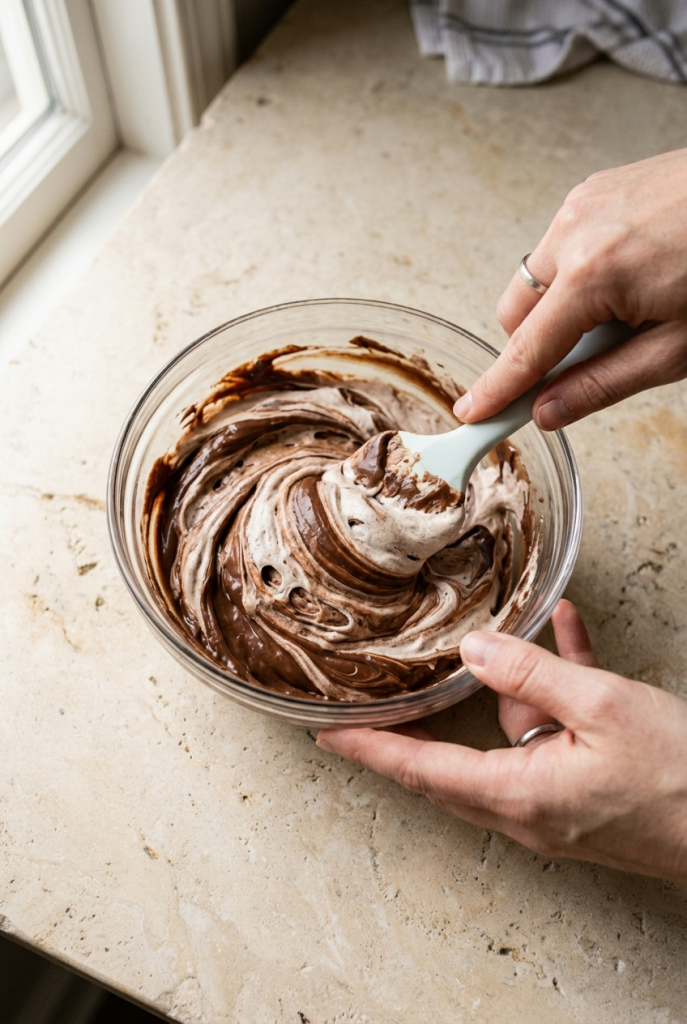
Add about one-third of the thawed whipped topping to the slightly cooled melted chocolate. Fold gently with a spatula until mostly combined.
Add the remaining whipped topping and continue folding until the mixture is evenly blended and creamy. Avoid vigorous stirring, which can flatten the whipped topping and make the finished pie denser.
The final filling should be smooth, thick, and fluffy with no obvious streaks of whipped topping or unmixed chocolate.
3. Fill the Chocolate Crust
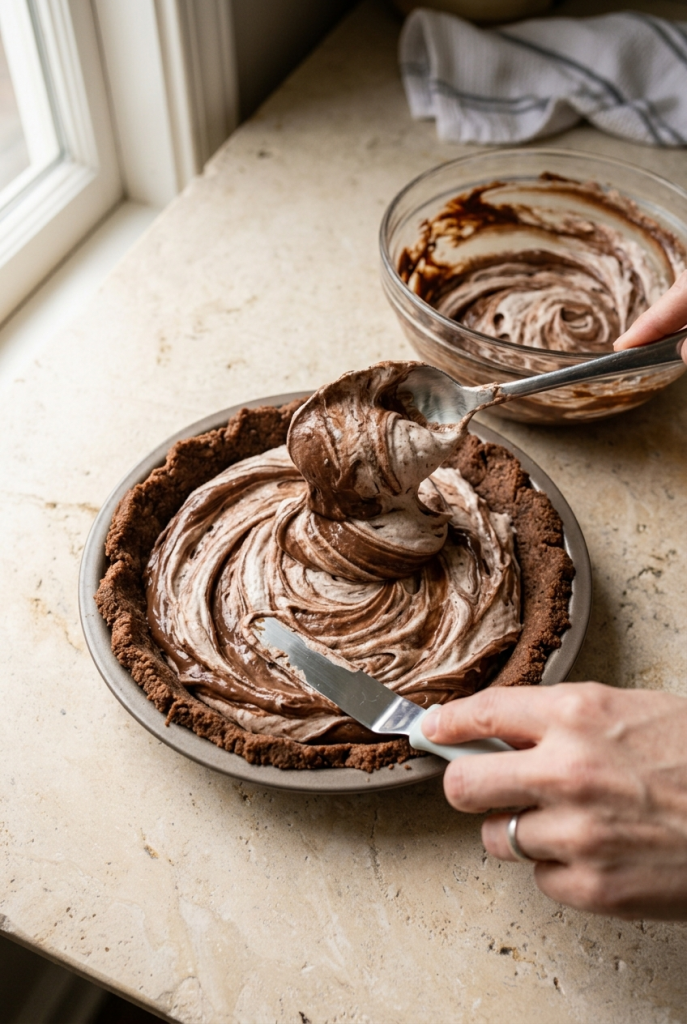
Spoon the chocolate filling into the prepared 9-inch chocolate cookie crust. Start by adding the filling to the center, then gently spread it toward the edges with a spatula.
Smooth the top as much or as little as you like. A slightly rustic surface looks homemade, while a smooth top makes the pie easy to decorate later.
Tap the pie plate very lightly against the counter once or twice if you notice large air pockets in the filling.
4. Chill Until Firm
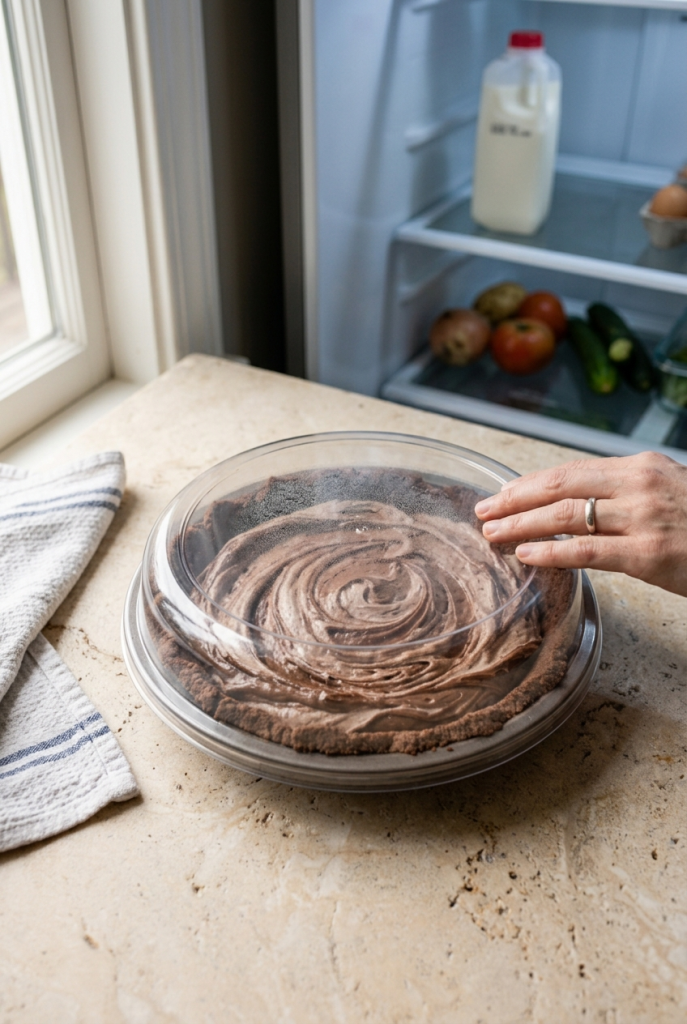
Cover the pie loosely with plastic wrap or place it in a covered pie container. Refrigerate for at least 4 hours, or until the filling is firm enough to slice cleanly.
For the neatest slices, chilling overnight works especially well. Keep the pie refrigerated until you’re ready to serve it.
5. Slice and Serve
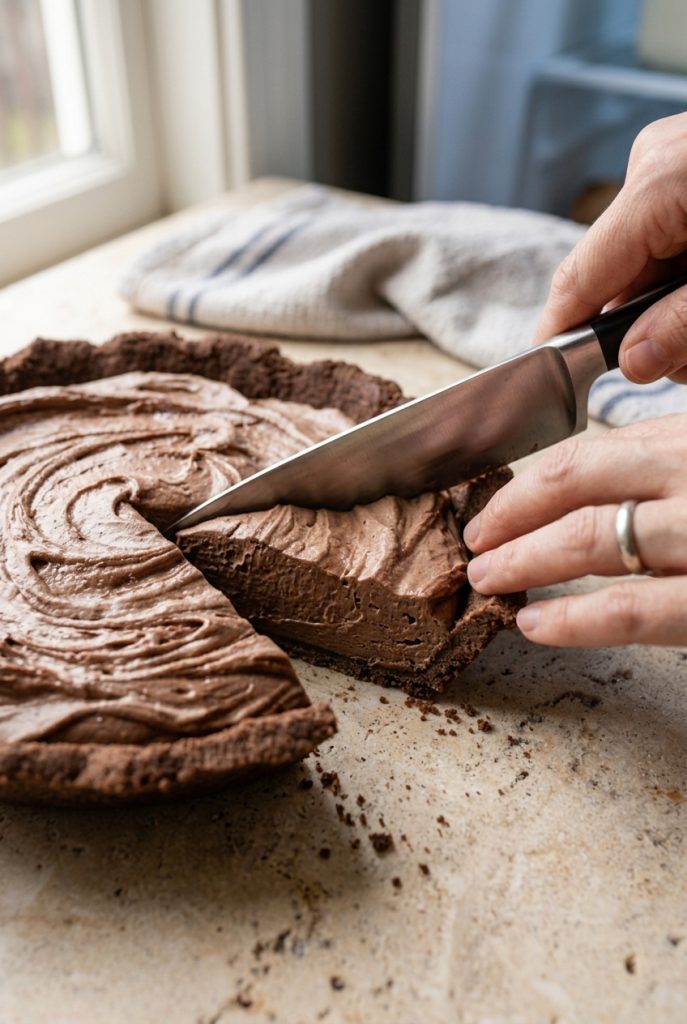
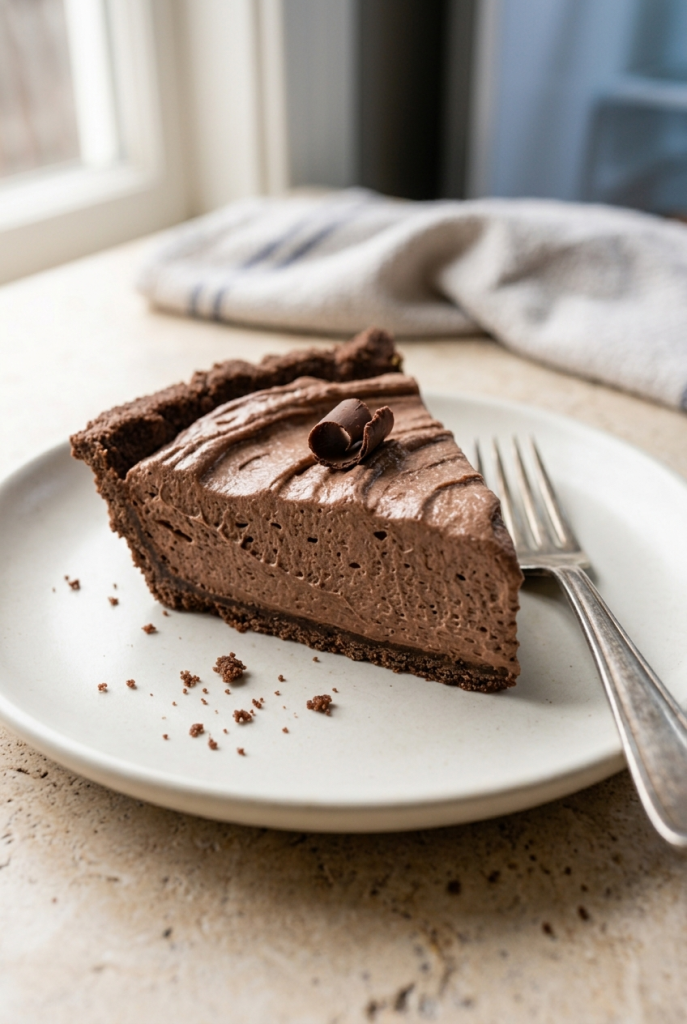
Once the pie is thoroughly chilled, remove it from the refrigerator and slice it into 8 wedges.
For cleaner cuts, use a sharp knife and wipe the blade between slices. Serve the pie cold while the filling is firm and creamy.
Recipe Tips
- Let the chocolate cool before combining it with the whipped topping. Warm chocolate can soften the whipped topping too much and reduce the light texture of the filling.
- Fold instead of stirring aggressively. Gentle folding keeps more air in the mixture, giving the pie a softer, creamier consistency.
- Use fully thawed whipped topping. Partially frozen topping can leave lumps and make the filling harder to combine evenly.
- Give the pie enough chilling time. Four hours is the minimum recommended chilling period for a firm, sliceable filling.
- Use a sharp knife for serving. Wiping the knife between cuts helps produce cleaner wedges and reduces chocolate filling from dragging across the crust.
- Keep the pie refrigerated. The filling is designed to stay firm and creamy when cold.
Make-Ahead Tips
This pie is particularly convenient when you need dessert ready ahead of time. Assemble it the day before, cover it well, and refrigerate overnight.
If you’re preparing it several hours ahead, keep it chilled until close to serving time. The colder filling will hold its shape better when sliced.
Variations and Substitutions
Use a different chocolate crust: A standard chocolate cookie crumb crust works best for the classic combination, but a graham cracker-style chocolate crust can also be used if that’s what you have available.
Try a darker chocolate flavor: Semisweet chocolate can replace some or all of the milk chocolate, although the finished pie will be less sweet and have a deeper chocolate flavor.
Add a simple topping: For serving, top individual slices with a small spoonful of whipped topping, chocolate shavings, or a light dusting of cocoa powder. These are optional and aren’t part of the three-ingredient base recipe.
Make mini pies: Divide the filling among small prepared chocolate crusts for individual portions. Chilling time may be somewhat shorter depending on the size of the crusts, so check that the filling is firm before serving.
What to Serve With 3-Ingredient No-Bake Hershey’s Pie
Because this pie is rich and creamy, simple accompaniments work best:
- Fresh strawberries or raspberries
- A small scoop of vanilla ice cream
- Hot coffee
- Cold milk
- Fresh berries with lightly sweetened whipped cream
Storage and Reheating
Refrigerator
Cover the pie tightly or place it in a covered pie container and refrigerate. For the best texture and flavor, enjoy it within about 3–4 days.
The crust may gradually soften as it sits, while the chocolate filling should remain creamy when kept properly chilled.
Freezer
You can freeze the assembled pie if needed. Wrap it well to protect it from freezer odors and freezer burn, then freeze until firm.
For serving, thaw the pie in the refrigerator rather than on the counter. The texture may be slightly firmer after freezing and thawing, but it can still make a convenient make-ahead dessert.
Reheating
This pie doesn’t need reheating. Serve it cold from the refrigerator.

3 Ingredient No-Bake Hershey’s Pie
Looking for quick and easy dessert recipes? This 3 ingredient chocolate pie is incredibly simple to make but totally irresistible!
Ingredients
- 1 (6 oz) pre-made graham cracker crust
- 1 (8 oz) tub of Cool Whip (thawed in fridge)
- 6 regular-sized Hershey’s Chocolate Bars (about 9 ounces)
Instructions
- Break apart your Hershey’s Bars and reserve 2–4 pieces for garnishing the pie later. Place the remaining chocolate in a microwave-safe bowl and heat for 20–30 second increments until the chocolate is completely melted.
- Add the thawed Cool Whip to the melted chocolate and mix until well combined and smooth.
- Spoon the chocolate mixture into your prepared pie crust. Use a cheese grater to garnish the top with any chocolate pieces you set aside.
- Refrigerate and chill for at least 3 hours or overnight before slicing and serving.
Recipe Details
Keyword: 3 ingredients, chocolate, Cool Whip, easy dessert